By Refrigerant Centers Editorial Team
Most heating-season calls on a rooftop heat pump that get written up as a refrigerant problem are not a refrigerant problem. They are a defrost problem, a reversing valve problem, an airflow problem, or a technician reading cooling-mode targets on a system that is running backward. The refrigerant only becomes the issue after those are ruled out — and in cold weather, adding refrigerant on a hunch is the most expensive wrong guess available, because the gauges will not tell you it was wrong until spring.
Two facts govern the whole visit. Suction pressure is supposed to be low in heating mode, because the outdoor coil is now the evaporator pulling heat out of cold air — a system that looks nearly flat on the low side at 25°F outdoor may be perfectly charged. And pressure-based charge verification is not valid at low ambient, which is why the standard practice below roughly 55°F is to establish the charge by weight instead.
So the useful order on a no-heat RTU is: confirm the unit is actually calling and running in heating, confirm airflow and the defrost cycle, confirm the reversing valve is shifting fully, check for a frosted or blocked outdoor coil, and only then take readings against the manufacturer’s heating-mode criteria — with the understanding that on a cold day those criteria are narrow and the weigh-in is the fallback. The sections below work that sequence out in detail, along with the rooftop-specific failures that never show up in residential troubleshooting guides.
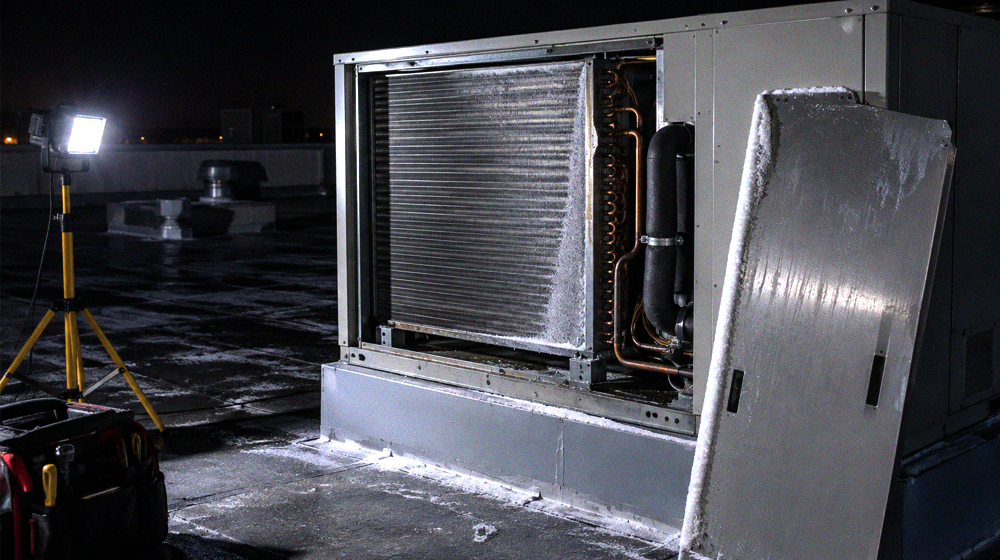
What Reverses in Heating Mode and What Does Not
Worth stating plainly because it explains every reading that follows. In heating, the reversing valve redirects discharge gas to the indoor coil, which becomes the condenser, and the outdoor coil becomes the evaporator. The compressor still pumps the same direction. The metering arrangement changes — many systems use a TXV or a piston at each coil with a bypass check valve, so the active metering device changes with mode, and manufacturer long-line guidance for heat pumps commonly calls for TXVs on both the indoor coil and the outdoor unit plus a crankcase heater on extended piping runs.
Three consequences follow for service:
Your gauge ports may not read what you think. On some systems the high-side port sits on the wrong side of the metering device for heating mode, so the reading is not the condensing pressure you want. This is a known trap, not a gauge fault.
The suction accumulator earns its keep. In heating, liquid returning from a cold outdoor coil is a real risk, and the accumulator is what stands between that and the compressor.
Line insulation matters in the other direction. Manufacturer installation guidance for heat pumps calls for the vapor line insulated full length and the liquid line insulated where it runs through unconditioned space. In heating mode the vapor line carries the heat you are selling, so missing insulation on a roof in January is a capacity loss the customer pays for every hour.
Why Cooling-Mode Habits Give Wrong Answers
A technician who checks a heat pump in heating the way they check an air conditioner in cooling will reach one of two wrong conclusions: the system is starved, or the system is fine. Both are guesses.
Low suction is normal. As the HVAC School guidance on refrigerant charging basics for air conditioning and heat pump systems notes, a properly running system with indoor and outdoor temperatures above 68°F will show suction saturation above 32°F — and once you are well below that indoor and outdoor combination, you are outside the envelope where familiar numbers mean what they usually mean. In heating at low ambient, suction saturation is supposed to be low. Reading it as “flat” and adding refrigerant overcharges the system, which then floods the accumulator, raises discharge pressure, and eventually costs a compressor.
Subcooling targets are also mode-specific and manufacturer-specific. A heating-mode subcooling figure is not the cooling-mode figure with a different label, and there is no generic substitute for what the equipment’s own documentation publishes. Where the manufacturer publishes a heating check chart, use it; where it does not, the honest answer is that the pressure-based method is unavailable and the charge is established by weight.
Charge Verification in Heating Mode: What Is Actually Valid
There is a genuine field method for heating mode, and it has conditions. HVAC School’s heat mode charging and testing material gives temperature-based checks that apply with outdoor temperatures roughly between 65°F and 15°F and the outdoor coil frost-free: the suction line running about 5 to 15 degrees cooler than the outdoor temperature, and the liquid line about 3 to 15 degrees above the indoor temperature. It also names the traps — mistaking a correctly operating system for flat because suction pressure has dropped with ambient, taking readings on a frosted coil, and high-side gauge connections that do not work in heating mode on some systems.| Check | Valid when | Not valid when |
|---|---|---|
| Manufacturer heating check chart | The chart exists for that model and conditions fall inside its stated range | No chart published, or conditions outside its range |
| Line temperature checks against outdoor and indoor temperature | Roughly 65°F to 15°F outdoor, outdoor coil frost-free, system stabilized | Coil frosted, unit in or just out of defrost, or outside that band |
| Cooling-mode subcooling target | Never, in heating mode | Always — it describes a different circuit configuration |
| Weigh-in to nameplate plus line-set adjustment | Any ambient; the fallback when pressure methods are unavailable | Only limited by scale accuracy and knowing the line-set length |
Conditions for the line-temperature checks from the HVAC School heat-mode material cited above; the manufacturer’s own documentation governs for a specific model.
Below about 55°F outdoor, treat pressure-based verification as unavailable rather than approximate — the same threshold California’s Title 24 reference guidance uses when it requires at least 55°F for the standard charge verification procedure and allows the weigh-in as the alternative. Manufacturer service guidance has moved the same way for A2L equipment, with the analysis of why subcooling fails below 55°F noting that recover-and-weigh-in is now the recommended cold-weather route.
The practical version for a rooftop call: record conditions, run the valid checks if the day allows, and if it does not, weigh in and document it rather than adjusting by feel.
Defrost: Where Most of the Calls Come From
Ask any commercial service manager which heating-season symptom generates the most tickets and the answer is defrost — either too much of it, not enough of it, or the customer noticing it.
An outdoor coil operating below freezing accumulates frost, frost blocks airflow, blocked airflow drops capacity, and the system has to reverse into cooling briefly to melt it off. Modern equipment uses demand defrost logic rather than a fixed timer, which initiates based on measured conditions instead of the clock.| Symptom | Likely cause | What to check first |
|---|---|---|
| Coil iced solid, no defrost occurring | Defrost sensor, control board, or reversing valve not shifting | Force a defrost and watch whether the valve actually shifts |
| Defrosting constantly, poor heating output | Sensor misplacement or failure, or low charge causing a cold coil | Sensor mounting and contact, then charge by the valid method |
| Defrost runs but ice returns immediately | Drainage blocked, coil dirty, or meltwater refreezing at the base | Base pan drainage, coil cleanliness, curb and roof drainage |
| Cold air from diffusers during defrost | Normal, unless supplemental heat is failing to energize | Whether auxiliary heat is staged in during defrost as designed |
| Ice building on one section of coil only | Distributor or circuit feeding problem, or partial airflow blockage | Coil face obstruction, then distributor and metering behavior |
The fourth row is worth carrying to the customer before they call. Cold air during defrost is the system working correctly, and most “the heat blows cold” complaints on a commercial building are a defrost cycle the occupants noticed. It becomes a real fault only when supplemental heat is not staging in to cover it.
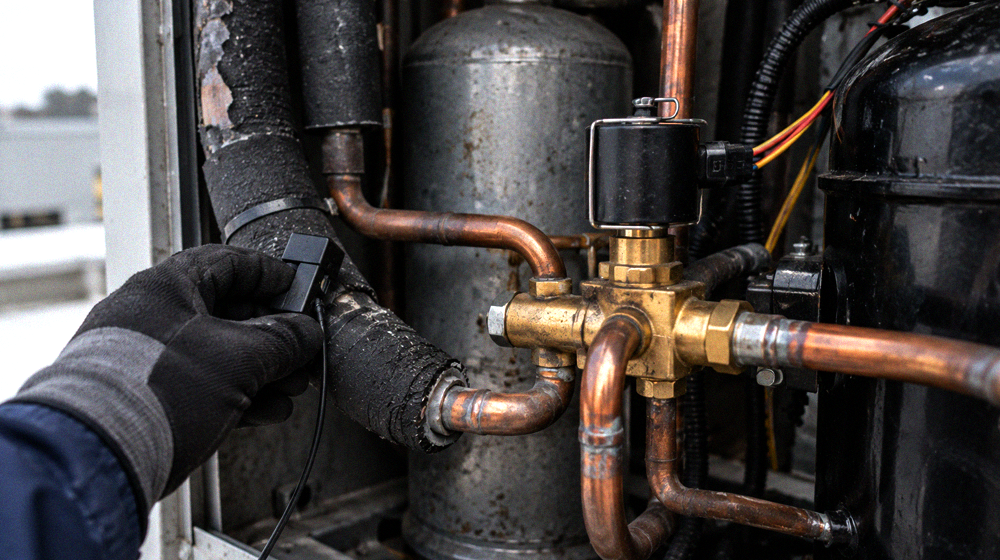
The Reversing Valve: Diagnose It Before You Replace It
Reversing valves get condemned more often than they fail. The valve is expensive to replace on a rooftop unit, it requires recovery and brazing in cold weather, and a misdiagnosis costs a day.
Three failure modes, and they are distinguishable:
The solenoid coil is dead or unpowered. Cheapest and most common. Check for voltage at the coil on a call, and check the coil itself. A valve that will not shift because nothing is telling it to is not a failed valve.
The valve is stuck mid-position. The signature is discharge gas bleeding across internally — the suction line runs warmer than it should, capacity is poor in both modes, and the temperature differential across the valve body is small when it should be large. Feel the four lines at the valve, or read them: a valve that has fully shifted shows a clear hot and cold separation.
The valve will not shift because of a pressure differential problem. The valve needs a pressure difference to move. On a system that is genuinely low on charge, the valve may not shift — which means a “failed reversing valve” can be a symptom of the refrigerant problem rather than its own fault. Check the charge question before condemning the valve.
That last point is the one that saves the most money. Restore the charge correctly, then retest the valve. If it shifts, the valve was never the problem.
Flooded Starts, Accumulators, and Crankcase Heaters
In cold weather, refrigerant migrates to the coldest part of the system during the off cycle, and on a rooftop unit that is usually the compressor shell. A compressor that starts with liquid in the crankcase washes out the bearings and, on repeat, fails.
The protections exist for this. The crankcase heater keeps the shell warm enough that refrigerant does not condense into it, and manufacturer guidance lists a crankcase heater as required alongside TXVs at both coils on long-line heat pump applications. The suction accumulator catches liquid returning from the outdoor coil, which in heating mode is the evaporator running in cold air.
What goes wrong in the field:
Crankcase heaters that are not energized. Disconnected during a previous service, failed open, or on a circuit someone killed at the disconnect over the weekend. Check them at the start of heating season, not after a compressor failure.
Power interruptions with no warm-up period. After extended power loss in cold weather, the compressor should not be started immediately. Give the heater time before the first call, per the equipment’s documentation.
Accumulators assumed to be infallible. An accumulator sized for design conditions can be overwhelmed by a genuinely overcharged system, which is one more reason not to add refrigerant on a hunch in January.
Repeat compressor failures on the same unit. Two compressors on the same rooftop unit is not bad luck; it is an unresolved liquid return or charge problem, and the third one will fail too.
Rooftop Failures Nobody Attributes to the Roof
This is where commercial work diverges from everything on the residential troubleshooting pages, and where an experienced tech earns the call.
Snow drifting and coil blockage. A rooftop unit sits in whatever the wind builds. A coil that is half-buried on the north face has lost airflow the equipment never sees as a fault, and the symptom presents as poor heating and heavy frosting.
Base pan and curb drainage. Defrost meltwater has to go somewhere. Where it refreezes at the base of the coil, each defrost cycle makes the problem worse rather than better, and no amount of defrost tuning fixes it.
Ice on the roof membrane. A unit shedding meltwater onto a walking surface is a liability item the property manager will care about more than the capacity loss.
Economizer dampers stuck open. A damper hung open in winter dumps outdoor air into a building the heat pump is trying to heat. This shows up as insufficient heat with a perfectly healthy refrigerant circuit, and it is common enough to check early.
Wind effects on discharge and inlet. Units in exposed positions or crowded arrays can recirculate or be wind-loaded in ways that change coil performance seasonally.
Access itself. Ice on a roof, cold hands, and short daylight make every diagnostic step slower. Budget the call accordingly rather than rushing the sequence, because a rushed diagnosis in winter is how the wrong part gets ordered.
Low Ambient Capacity Loss Is Not a Fault
Every air-source heat pump loses heating capacity as outdoor temperature falls, because there is less heat in the air to move. This is design behavior, not a defect, and it is the single most common source of a complaint that has no repairable cause.
The practical distinction on site: a system delivering reduced but proportionate capacity at 15°F with a clean coil, a healthy defrost cycle, and a fully shifting valve is performing as designed. A system that cannot hold the space at 40°F has a fault.
Where the building genuinely cannot be held at design conditions, the issue is usually the balance point and the supplemental heat strategy rather than the refrigerant circuit — and that is a design conversation with the owner, not a repair. Check that auxiliary heat is staging correctly before concluding anything about capacity, because failed supplemental heat presents exactly like a weak heat pump.
The Diagnostic Sequence for a No-Heat RTU Call
Working in this order avoids the two expensive mistakes: adding refrigerant that was not needed, and replacing a reversing valve that was not broken.
Confirm the call and the mode
Thermostat or BAS calling for heat, unit responding, and the system actually in heating rather than locked out or stuck in cooling. Read the control board’s status and fault history before touching anything — on demand-defrost equipment the board will tell you more in thirty seconds than gauges will in twenty minutes.
Look at the outdoor coil and the airflow
Frost pattern, snow, debris, and fin condition on the outdoor coil; filters and indoor airflow on the supply side. A blocked coil explains most of the symptom set, and it is visible from the ladder.
Force and observe a defrost
Watch whether the reversing valve shifts fully, whether the outdoor fan stops as designed, and whether ice clears and drains. This single test resolves a large share of heating-season calls.
Check the reversing valve by temperature
Line temperatures at the valve body, and coil voltage on the call. Establish whether it is shifting, bleeding through, or not being commanded.
Verify economizer and supplemental heat
Damper position and auxiliary heat staging. Both can produce a no-heat complaint with an intact refrigerant circuit.
Only now, take refrigerant readings
Against the manufacturer’s heating criteria if the day allows, or by weigh-in if it does not. Any refrigerant work requires the appropriate EPA Section 608 technician certification, and the recovery obligations below apply before anything is opened.
Recovery and Repair in Cold Weather on a Roof
If the diagnosis lands on a sealed-system repair, the cold works against you on every step.
Recovery is slower because refrigerant sits as liquid in the coldest components and the source pressure is low. Budget the time rather than stopping short. Venting is prohibited under EPA’s stationary refrigeration venting rules regardless of weather, access, or schedule pressure.
Evacuation is slower too, and for two reasons worth knowing: moisture in a cold system may be frozen and will not leave under vacuum until it sublimates, and vacuum pump oil thickens in the cold, reducing the pump’s ability to hold a low micron level. Keep the pump warm, use fresh oil and large hoses, and hold the standing vacuum test long enough to prove dryness rather than a temporary low reading.
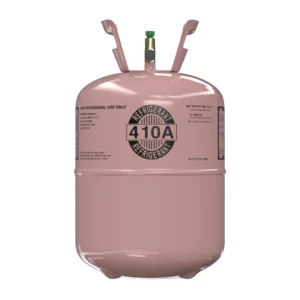
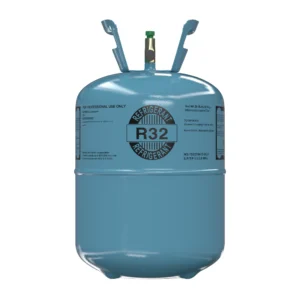
Charging, per the manufacturer’s method: preliminary charge by weight, then final charge by liquid subcooling where conditions permit. R410A and the A2L blends both go in as liquid. On a day when the final pressure-based step is not valid, the weigh-in is the charge and the pressures you record are a baseline for the spring follow-up, not a verification.
Pre-Season Readiness: What to Do Before the First Cold Snap
Most heating-season emergencies are visible in October and cheap to prevent.
Energize and verify every crankcase heater across the fleet. This is a ten-minute check per unit that prevents a compressor replacement.
Run each unit through a defrost cycle while the weather is still mild enough to work comfortably. A valve that does not shift in October is a scheduled repair; the same valve in January is an emergency at premium rates.
Clean the outdoor coils before frost season, because a marginally dirty coil becomes a frosting coil the first cold week.
Confirm drainage at base pans, curbs, and roof drains near each unit.
Cycle economizer dampers and confirm they close.
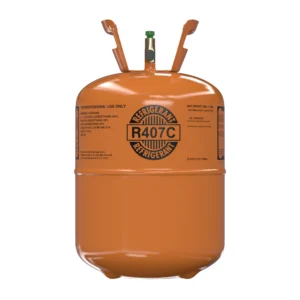
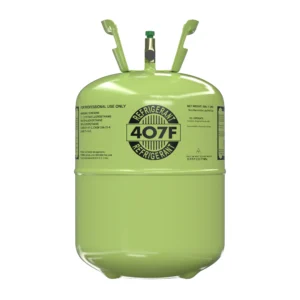
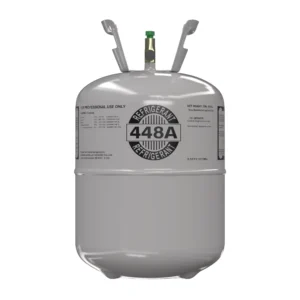
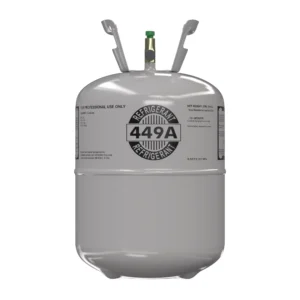
Check what you hold. A mixed rooftop fleet may need more than one refrigerant on the truck, and the time to confirm current availability of what those units take is before the first cold snap rather than during it — Refrigerant Centers can confirm what is available in the sizes a winter route needs while there is still time to plan around it.
Pull each unit’s service history and flag repeat offenders for a real fix rather than another seasonal patch.
What to Tell the Property Manager
Three explanations do most of the work, and giving them before the complaints arrive is worth more than giving them after.
Cold air during defrost is normal. The unit briefly runs in cooling to melt ice off the outdoor coil. If the building has supplemental heat, it should cover the gap; if occupants feel it strongly, that is the thing to investigate, not the defrost itself.
Capacity falls with outdoor temperature by design. A heat pump moves heat from outdoor air, and there is less of it at 15°F than at 45°F. Whether the building can be held at design conditions is a balance-point and supplemental-heat question, and it can be answered with numbers rather than opinions.
Snow and drainage around the units are a maintenance item, not a repair item. A drifted or ice-bound unit will underperform no matter how healthy the refrigerant circuit is, and clearing access is faster and cheaper than a service call.
Put the seasonal readiness work in writing with the units listed. A property manager who can see that twelve rooftop units were checked in October takes a January call very differently from one who cannot.
Frequently Asked Questions
Why is the rooftop HVAC unit not heating?
Most often the defrost cycle, a reversing valve not shifting, a blocked or iced outdoor coil, an economizer damper stuck open, or supplemental heat not staging. Refrigerant charge belongs later in the sequence, not first.
Why isn’t the heat pump defrosting?
Check whether defrost is being commanded at all — sensor, control board, and fault history — before assuming a valve failure. Then force a defrost and watch whether the reversing valve actually shifts.
Why is the heat pump blowing cold air in heating mode?
Usually a defrost cycle, which reverses the unit into cooling briefly and is normal. It becomes a fault when supplemental heat does not energize to cover it, or when the reversing valve is stuck and the unit is running in cooling continuously.
Can I check the charge on a heat pump in heating mode?
Only against criteria that apply to heating. Manufacturer heating check charts where they exist, or line-temperature checks valid roughly between 65°F and 15°F outdoor with a frost-free coil. Cooling-mode subcooling targets do not apply.
Is low suction pressure in winter a sign of low charge?
Not by itself. In heating mode the outdoor coil is the evaporator in cold air, so suction pressure is supposed to be low. Reading it as flat and adding refrigerant is a common and expensive error.
Do I have to weigh in the charge in cold weather?
Below roughly 55°F outdoor, pressure-based verification is generally not valid, and the weigh-in is the accepted route — recover, record, evacuate, and charge to nameplate plus the documented line-set adjustment.
Why did a second compressor fail on the same rooftop unit?
Repeat compressor failure points to an unresolved liquid return or charge issue — crankcase heater not energized, accumulator overwhelmed by an overcharge, or flooded starts after power interruptions. Fix the cause before installing a third.
Why do commercial HVAC problems show up during seasonal changeovers?
Because heating mode exercises components that sat idle all summer — the reversing valve, defrost controls, crankcase heaters, and auxiliary heat. The failures were there in August; nothing was asking those parts to work.
Before the Next Cold Call
The readings that matter on a heating-season rooftop call are the ones taken after the coil is clear, the defrost has been observed, and the valve has been confirmed to shift. Take them in that order and the refrigerant question usually answers itself — and on the days the weather takes the pressure method away from you, weigh it in, write down what went in, and leave the next technician something better than a guess to work from.